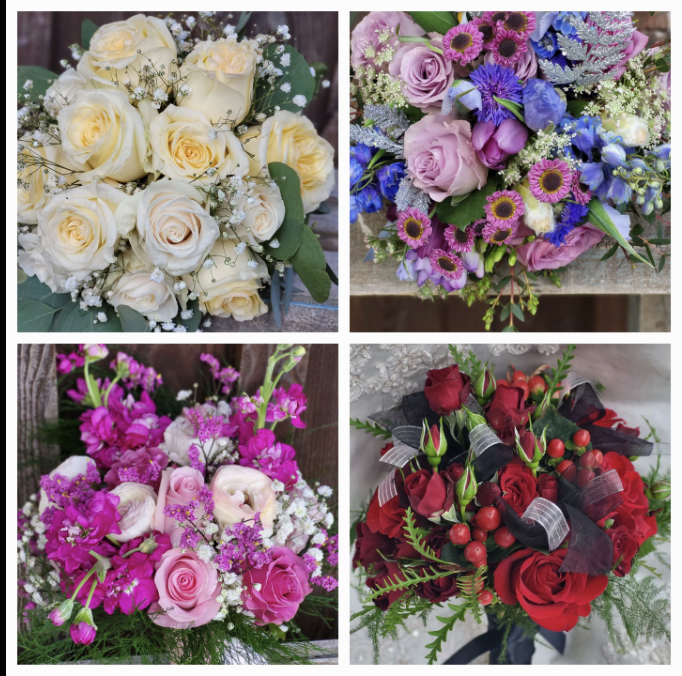
DIY-ing a professional-looking prom bouquet is surprisingly simple, budget-friendly, and gives you complete control over the colors and style. A handmade bouquet can look just as polished as one from a florist when you use the right flower combination and a simple arranging technique. You can also make your bouquet look much more elegant and polished by customizing it to match your dress or prom colors. The key is keeping the bouquet petite, usually around 6 to 8 inches wide, so it feels lightweight, balanced, and comfortable to carry throughout the night and during photos.
One of the best places to buy flowers is actually the grocery store. Stores like Trader Joe’s, Costco, Whole Foods, or even local supermarkets often have fresh flowers at much lower prices than florists. Grocery stores are especially helpful because they usually stock flowers in coordinated colors, making it easier to create a bouquet that looks professionally designed. If you’re working with a smaller budget, dollar stores and craft stores are also great places to find ribbon and artificial flowers. Using faux flowers is an easy way to save money, and not to mention, the flowers last forever, along with the memories.
The secret to creating a bouquet that looks natural and professional is something florists call the “tuck and cuddle” method. Instead of placing flowers stiffly side by side, you gently tuck each bloom into the arrangement at a slight angle so the flowers naturally nestle together. This technique creates a soft, rounded shape and gives the bouquet a more romantic appearance.
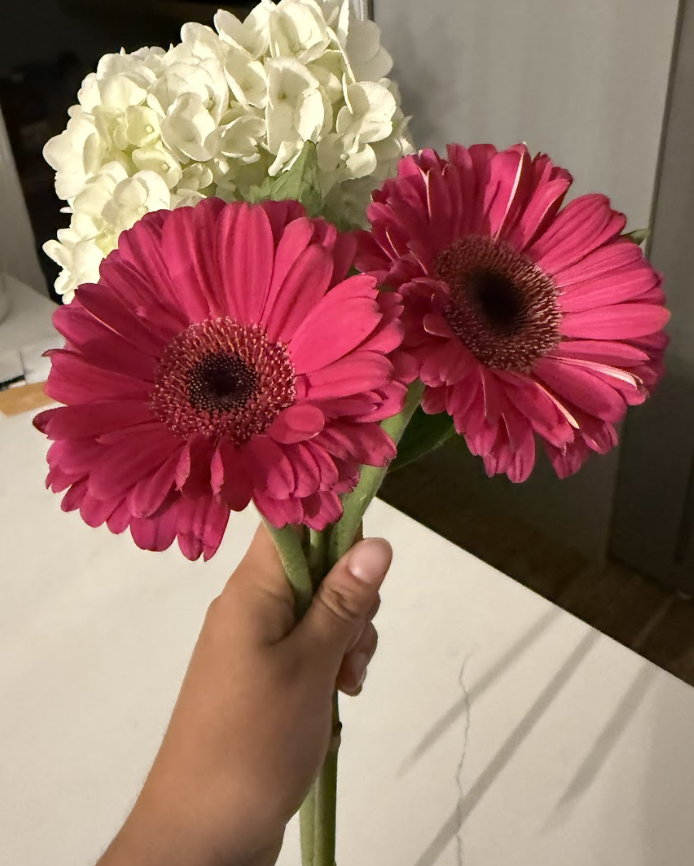
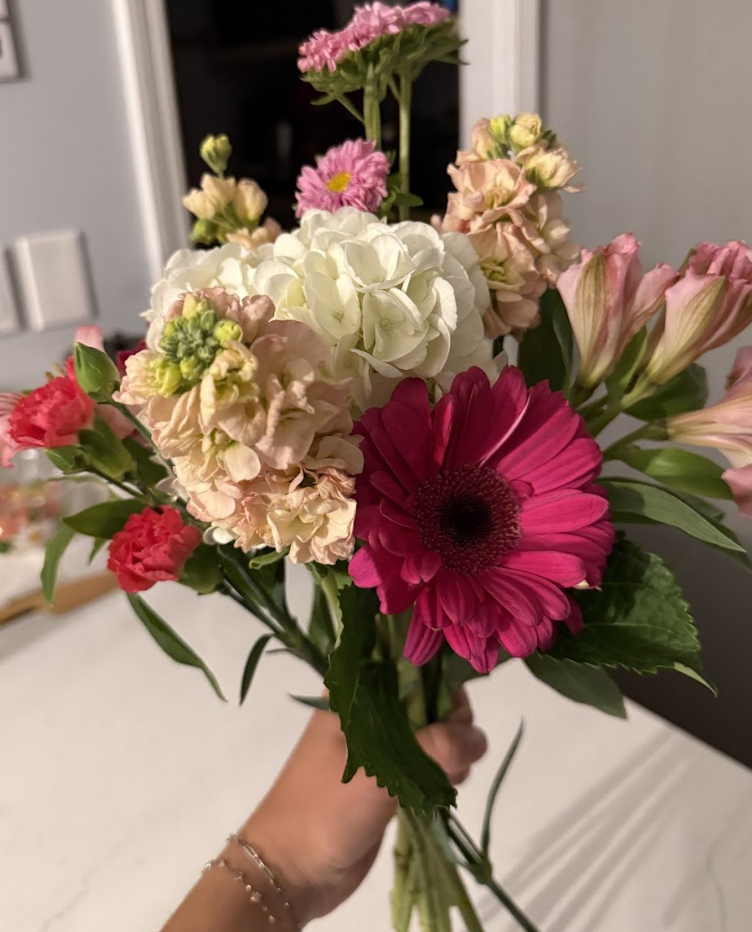
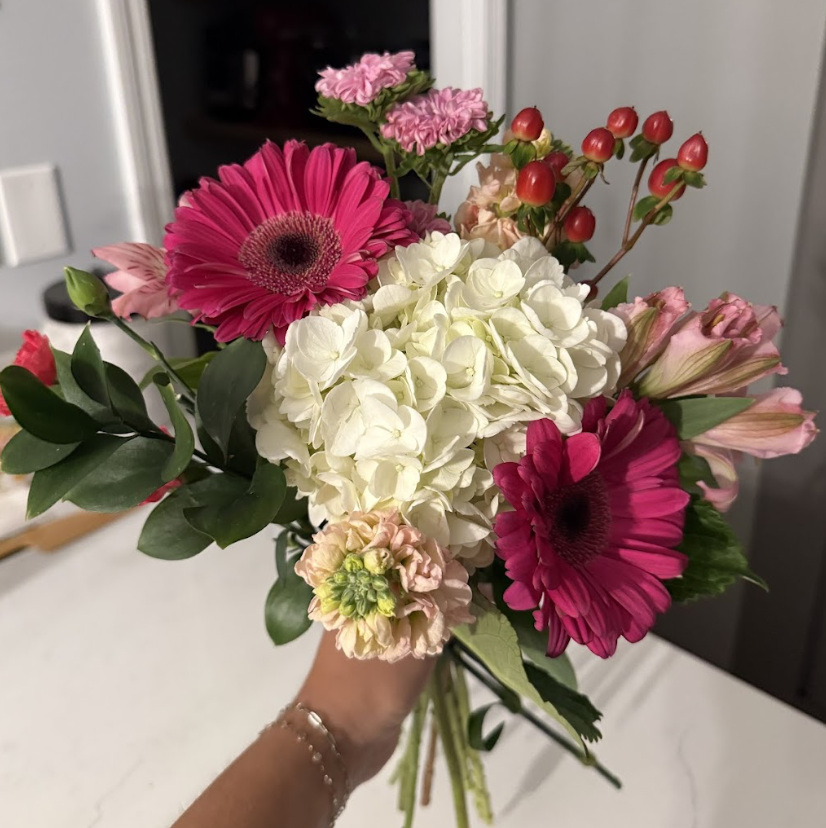
To make your bouquet, you’ll need about 2 to 4 focal flowers, which are the larger flowers that stand out the most. Roses, peonies, dahlias, and even large carnations work beautifully. The focal flowers are a good opportunity to match your dress. In this bouquet I used hot pink gerbera daisies and a white hydrangea.
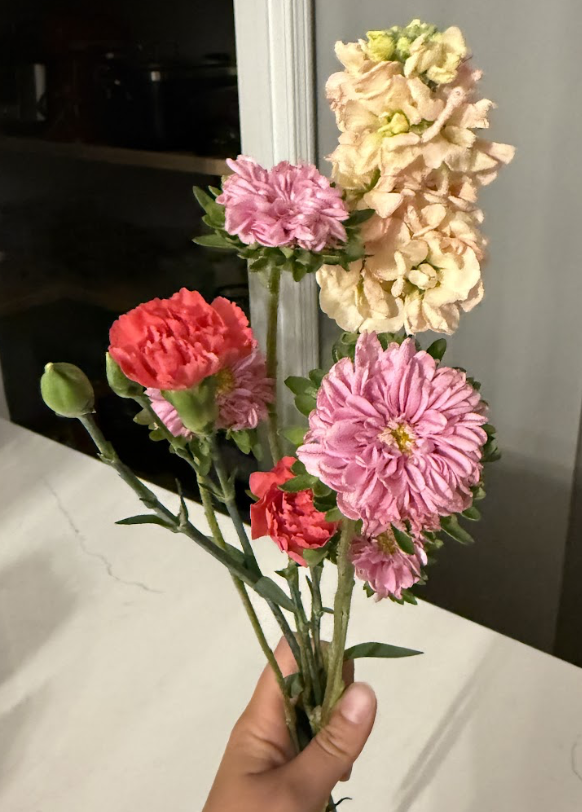
You’ll also want a few filler flowers, such as spray roses, baby’s breath, or mini carnations, to fill empty spaces and add texture. Filler flowers are good for a secondary color. Since I used hot pink flowers I used lighter pink mini carnations, hoary stock, and asters.
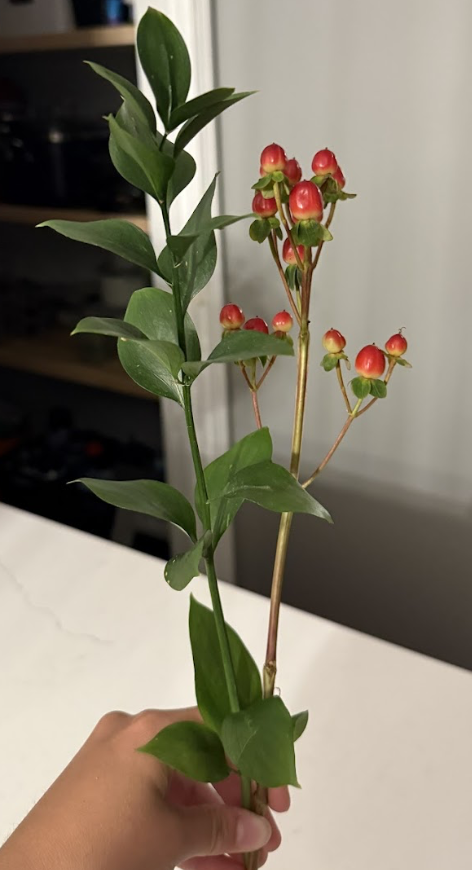
Greenery such as eucalyptus, ferns, or berries creates a soft outer frame and gives the bouquet a fuller, more finished look. I used hypericum and Israeli ruscus.
Before assembling the bouquet, it’s important to prep the flowers properly to keep them fresh. Remove any leaves from the lower half of the stems since leaves sitting in water can rot quickly and shorten the life of the flowers. Using floral shears or sharp scissors, cut each stem diagonally at a 45-degree angle. This helps the flowers absorb water more effectively. Place all the flowers in cool water for 12 to 24 hours before arranging them. Keeping them hydrated beforehand will make the bouquet look fresher and fuller on prom day.
When you’re ready to assemble the bouquet, begin with one focal flower in the center of your hand. Add the next flower slightly lower and at an angle rather than placing it straight up beside the first one. Continue rotating the bouquet in your hand as you add flowers, building outward in a spiral shape. This angled placement helps create the rounded bouquet shape that professional florists use. As you continue adding flowers, gently tuck filler flowers into any gaps to soften the arrangement and add texture without overcrowding the bouquet.
Once the main flowers are arranged, add greenery along the outer edge of the bouquet to create a soft frame and a supportive base. Allow some greenery to extend slightly past the flowers for a more natural, romantic look. Keep checking the bouquet from all sides as you work to make sure the shape looks balanced and evenly filled.
After the arrangement is complete, tightly wrap floral tape around the stems just below the blooms to secure everything. Continue wrapping downward for about 4 to 5 inches. Once the stems are secured, trim the bottoms evenly so they are comfortable to hold. Most prom bouquets look best with about 4 inches of exposed stem below the ribbon.
To finish the bouquet, wrap satin ribbon neatly around the taped stems, slightly overlapping the ribbon as you go downward. Leave about 2 inches of the stem exposed at the bottom for a clean, professional appearance. Secure the ribbon with boutonniere pins inserted downward into the stems so the sharp ends stay hidden. For an extra elegant touch, you can tie a small bow or leave a few ribbon tails hanging loosely.
If you make the bouquet ahead of time, proper storage will help keep it looking fresh until prom. Lightly mist the petals with water and place the bouquet upright in a vase or jar with just enough water to cover the bottom inch or two of the stems. Store it in the refrigerator overnight if possible, keeping it away from fruit and direct cold air. Taking the bouquet out about 30 minutes before leaving will allow the flowers to warm slightly and look their best for photos.